Sunday, February 16, 2014

THE BLUEST LAMPS ON THE PLANET..


Greetings, Everyone!! I hope all is well in your sunny household.
Ok, this project is a breeze. I simply wanted to give some cheapie lamps I purchased from Lowes a pop of color. I absolutely LOVE pops of color in a home that is mostly monochromatic (Using the tints and shades of one color within a hue..basically: a color scheme of browns, dark chocolates, creams, whites), it always gives a pleasant aura of surprise. And because I am a rustic chic type of chic and love colors that are  
analogous (using colors found in nature), I thought this blue would be purrrfect alongside my gold sea urchins, glass vase filled with reeds and gold painted pine cones..oh, and let's not forget the huge marble tumbled stone medallion..The combo was simply divine!! And, I LOVE juxtaposing different colors and textures: smooth against rough, dark against light, tall against short, sparkly against dull...love!
There's really no step by step for this, I will simply list what I used, what I did and voila..easy, peasy! I originally swooned over some blue high gloss lamps at West Elm, but of course, their lamps were $$$ and I got the bluest lamps on the planet for under 10 bucks!! So, go, paint away my little artists, hold your head high and stick your chest out at your finished work!!

 BEFORE YOU THROW OUT THOSE OLD LAMPS..GIVE EM A ONCE OVER!

I purchased a can of Rust-Oleum spray paint in Maui Blue Gloss. You can find at Lowes or Walmart


Be sure to paint in an open ventilated area..Once dry, allow to off gas for about 24-48 hours (leave outside or in an open area until fumes subside)...I simply spray painted (be sure not to hold the spray paint too close as clumping will occur) these lamps with about 3 coats of paint and allowed to dry. After a couple of days, I brought them inside and added a little 'blue' bling to the base. I found these beauties, surprisingly, at Walmart in the DIY jewelry section for about $4 . Voila, that's it..Now, I'm looking into a DIY project for the lamp shades..ahhh, but we'll see about that later..Till then, enjoy!


THE FINISHED LOOK:


Sunday, February 9, 2014

YUMMY EATS..SWEET POTATO AND BLACK BEAN BURGERS


Greetings, Everyone!! Hope all is well..
Hungry? How about some yummy healthy and hearty eats!!
Check out this recipe for some good eats for lunch or dinner. Hope you enjoy! Let me know what ya think


SWEET POTATO AND BLACK BEAN..BURGERS INGREDIENTS:


2 cans cannellini or black beans drained (we used black beans, but the cannellini beans are also delish)
1 large sweet potato, baked/peeled/mashed (about 2 cups)
2 Tbsp tahini
2 tsp maple or agave syrup
1 tsp lemon pepper seasoning OR Cajun seasoning (or another fave spice!)
1/4 cup wheat flour (or, if you are like us, we used almond flour to make this gluten free)
I also added some julienned carrots (1 carrot) to the mixture, this is optional

**optional: additional seasoning (whatever you have on hand - I used a few dashes cayenne, black pepper, a dash of cumin and a scoop of nutritional yeast)
sea salt to taste if needed

plentiful Panko crumbs ( I used Almond flour again instead of Panko which has wheat)
Sesame Oil

For the fixings: avocado, Dijon mustard, grain buns or Udis or Rudis gluten free buns, romaine, onion, olive oil, pepper


THE HOW TO:

1. Bake sweet potato. Peel, place in large mixing bowl.

2. Add drained beans to mixing bowl. Mash beans and potato together.

3. Mash in seasoning, flour and any additional seasoning. Your mixture will be quite soft and moist. But you should be able to form a patty. Add more flour or a scoop of breadcrumbs - or dry rice to thicken the mixture if needed.

4. Heat 1 Tbsp sunflower oil or Grapeseed oil in a pan over high heat.

5. Form a patty from mixture and coat in Almond flour. Thick coating. Then drop the patty in the pan. Repeat until the pan is filled. Cook until browned on both sides. You could also bake. If baking, use less Almond flour or Panko.

6. Transfer cooked patties to paper towel. Cool for a few minutes.

7. Serve on toasted bun with lots of yummy toppings and a nice field green salad with cucumber, red onion, Alfalfa sprouts, tomato, feta cheese (optional), black olives and I added fresh garlic and toasted our bread, cut into squares and added to the salad for fresh crutons.

Yummy, Yummy


DIY SUNDAY...LET'S MAKE A MENU!!


It's DIY SUNDAY!!
Let's make a Menu! 
Greetings, everyone!! I pray all is well in your creative household. There is nothing more helpful than a menu to help plan meals for the week. It helps grocery shop with a vision and lessens how much impulsive buys you make..It's also helpful after a busy day of work or duties to have a vision of what dinner will be. So, why not make something creative out of it, as I always feel when something looks nice, it makes it more fun to look at or engage in...What do you think? So, let's take a quick look at the how to of making a creative menu. And keep in mind, you may choose to use different materials. Here is my inspiration for this project..I thought this was Bang-Tastic!!


WHAT I USED: 


STEP 1: Gather some wood letters, paint and FREE paint stick stirrers. I got my letters from Walmart, but you can also find them at Michaels and Hobby Lobby. The paint stick stirrers I gathered from Lowes. And the circle wood discs I got from Walmart as part of a wooden car project. However, you can find these at Michaels and Hobby Lobby.

STEP 2: I painted the paint stirrers and wood discs in a black chalkboard paint. Paint the wooden letters in your choice of colors.


PLACE YOUR MENU:

 STEP 3: Once everything was painted and drying, once the wooden discs were dry, I took some gold metallic paint and wrote the initials of the days of the week on the discs

STEP 4: I placed all painted items neatly on the fridge. I used adhesive dots to hold everything on the fridge. (You can find these at staples, walmart or many craft stores)

FINISHED LOOK:


Sunday, February 2, 2014

DIY SUNDAY..Let's Go To The Sea with SEA URCHINS


Greetings, Everyone!! I pray all is well with you! 
So, of course, I am presenting our DIY Sunday project for this week. Being a mom who homeschool, it's always fun to find projects that go with our 'theme of the week'...and this week, it's about the sea!! Now, I have always LOVED these sea urchins, however, they are pretty costly in the stores such as West Elm, Anthropologie, and various places online, running about $100 or more, depending on where you get them. So, we decided to 'DO IT OURSELVES'!! at a  cost of about $8. There's nothing better than the satisfaction of drooling over an item and figuring out a way to make it yourself. These awesome beauties are soooo amazing in home decor and can give a room a very chic look. Of course, you can paint them any color you wish, especially if you have neutral colors, paint them a bright hue to add a spark of pop color. Oh, yea, and the kids love them as well...All had different responses to them, as we have 4 kids. Our youngest finds it hard to keep his 16 month old paws off of it, so we try to keep them placed in a slightly higher elevation. They are definitely eye catching in any room and they were perfect on our foyer table. One thing about me, I love the mixture of textures. The pop of gold and spiky appearance was truly a great addition next to the rustic foyer table with the painted pine cones,smooth glass vases, reeds and our huge tumbled stone marble medallion that I had a contractor friend frame for me so I can take it wherever we go...thinking of painting the lamp bases a different color, hmmmm..ok, let me refocus as that will be another project at a later date. So, enough said, presenting the 'HOW TO' of all things Sea Urchin!!

THE INSPIRATION


WHAT YOU'LL NEED:

I found everything I need at Walmart.
*The Styrofoam  balls ( I used  1.5 " and a 3" balls)
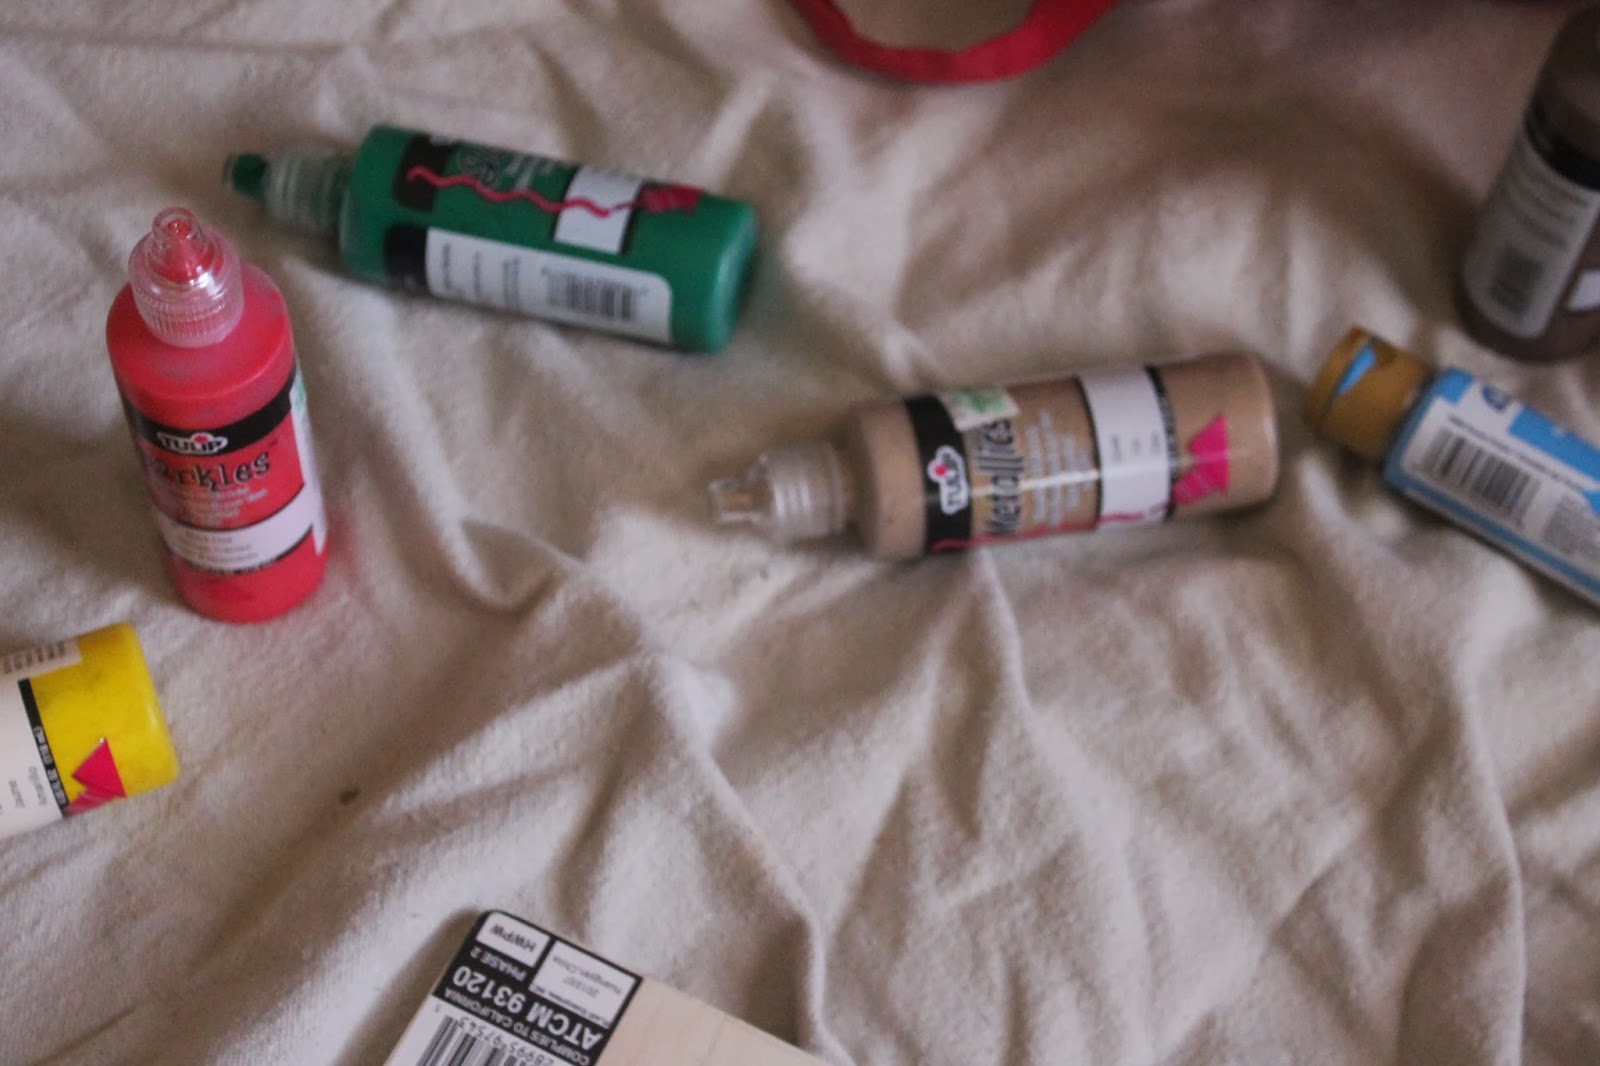
*Fabric Paint in the color of your choice ( I used Tulips Metallic in Gold) to paint the Styrofoam balls. Warning, spray paint will typically melt the Styrofoam, hence why I used the fabric paint for the balls.
*Paint Brushes


 * Wooden dowels and Floral Picks ( I used a combo of both as I wanted to capture the different thicknesses as well as heights. To achieve varying heights, I cut the sticks to fit my desired look.

*Spray paint for the sticks and dowels ( I used Krylon in Metallic Gold)

THE HOW TO:

*I poked a hole in the balls with one of the dowels to make it easy for me to paint all around the ball without making a mess. I then put the painted ball, which was on the dowel, in a mason jar to allow it to dry.

*I took the dowels and picks to an open airy space to spray paint. Be sure to do this in a well ventilated area..For me, it was the garage. Be sure to paint all sides and allow the dowels and picks to dry thoroughly.
 *Once the dowels and picks are completely dry, I proceeded to poke away. Place as many dowels and picks in the ball as you can to create a fuller effect. I cut the dowels and picks to fit my liking. Be sure to stick the dowels and picks into the ball as far as you can to ensure the ball will hold well.

*Voila, you're done!! Decorate with confidence..You have just saved yourself mucho $$$


THE FINISHED LOOK:


Enjoy!